Asset library
Every picture and text your manual's regions made, and how to fix a picture that came out wrong.
The asset library shows what Generate assets made: a picture for each step and object you drew in the PDF breakdown, and the words of each text. It opens on its own after you generate assets, or from Asset library on a manual in the studio.
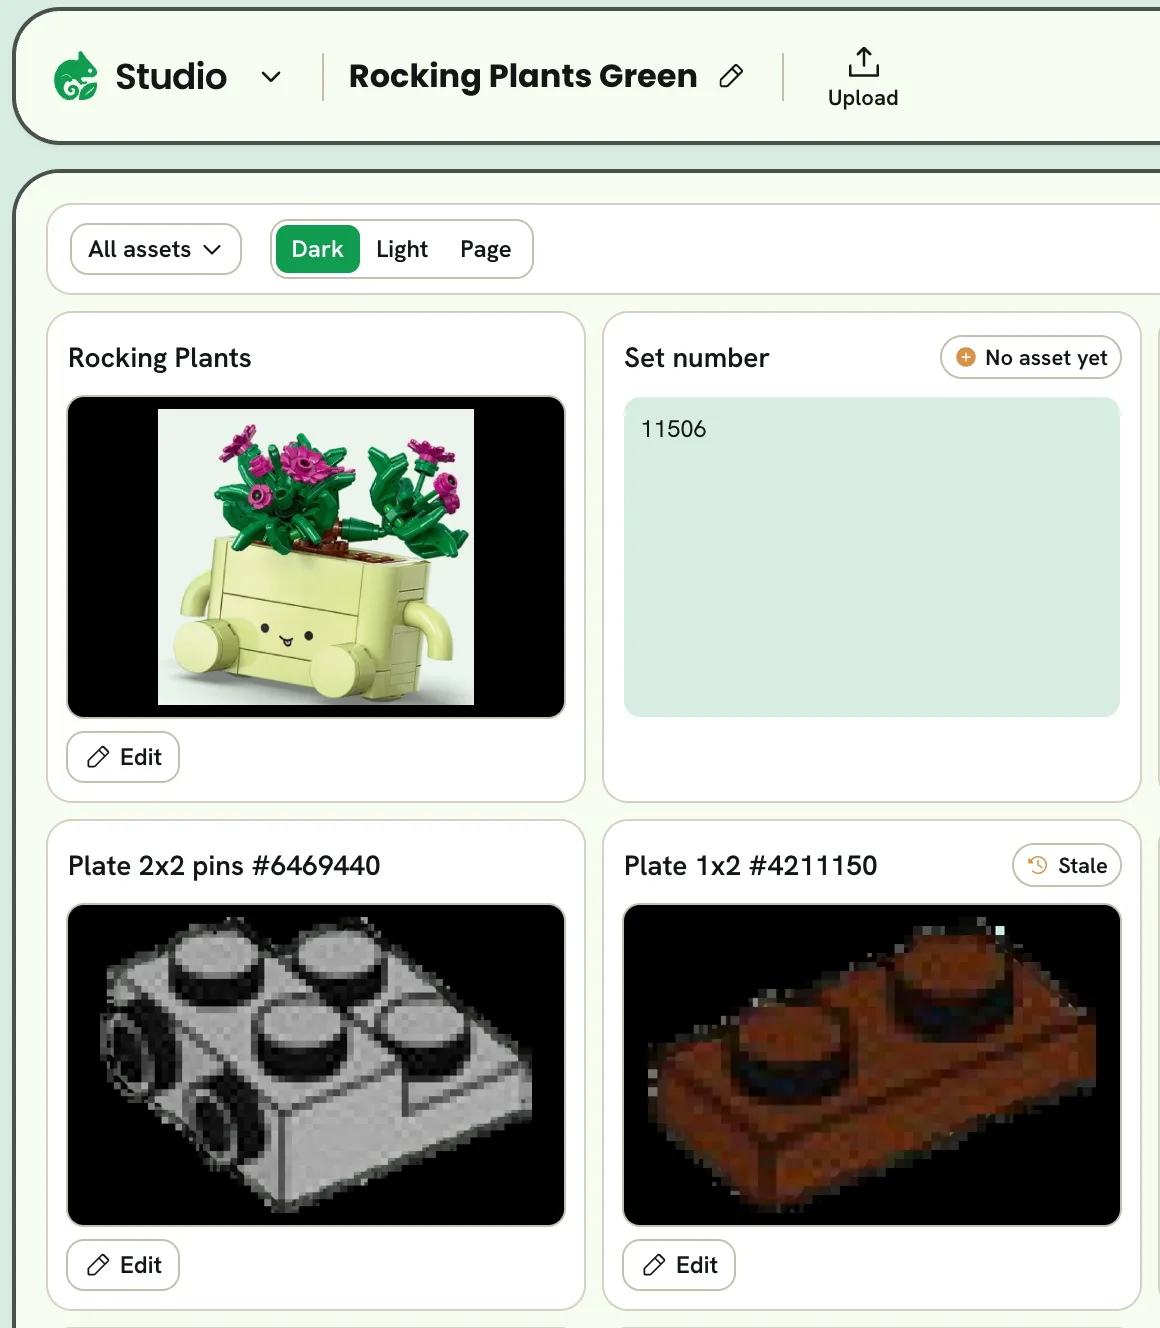
- 1Upload your own pictures
- 2Show a group or step
- 3Backdrop
- 4How many assets
- 5Out of date
- 6Edit a picture
- 7Continue to card builder
Read the grid
The assets are in your manual's order, each with its name. Look them over on the Dark backdrop first: that's how the glasses show them, and leftover page or missing parts stand out.
An asset only carries a badge when it's out of date:
- Stale: its region or settings changed since it was built.
- No asset yet: it hasn't been built.
Press a badge for what it means. Generate assets in the PDF breakdown brings them up to date. A text's card shows its words instead of a picture; type them in the PDF breakdown.
Show part of the manual
The filter at the top left shows one group or step at a time, or everything.
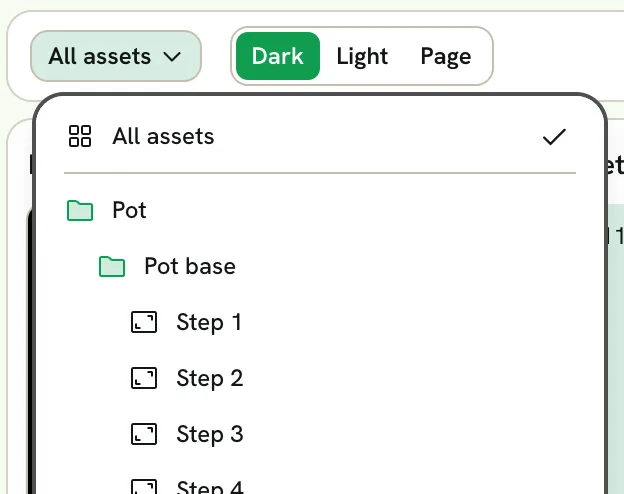
- 1Show a group or step
Fix a picture
Click Edit on a picture. It opens the same editor as Preview image in the PDF breakdown: Auto fixes, and Manual touch-ups to restore, erase or fill part of it.
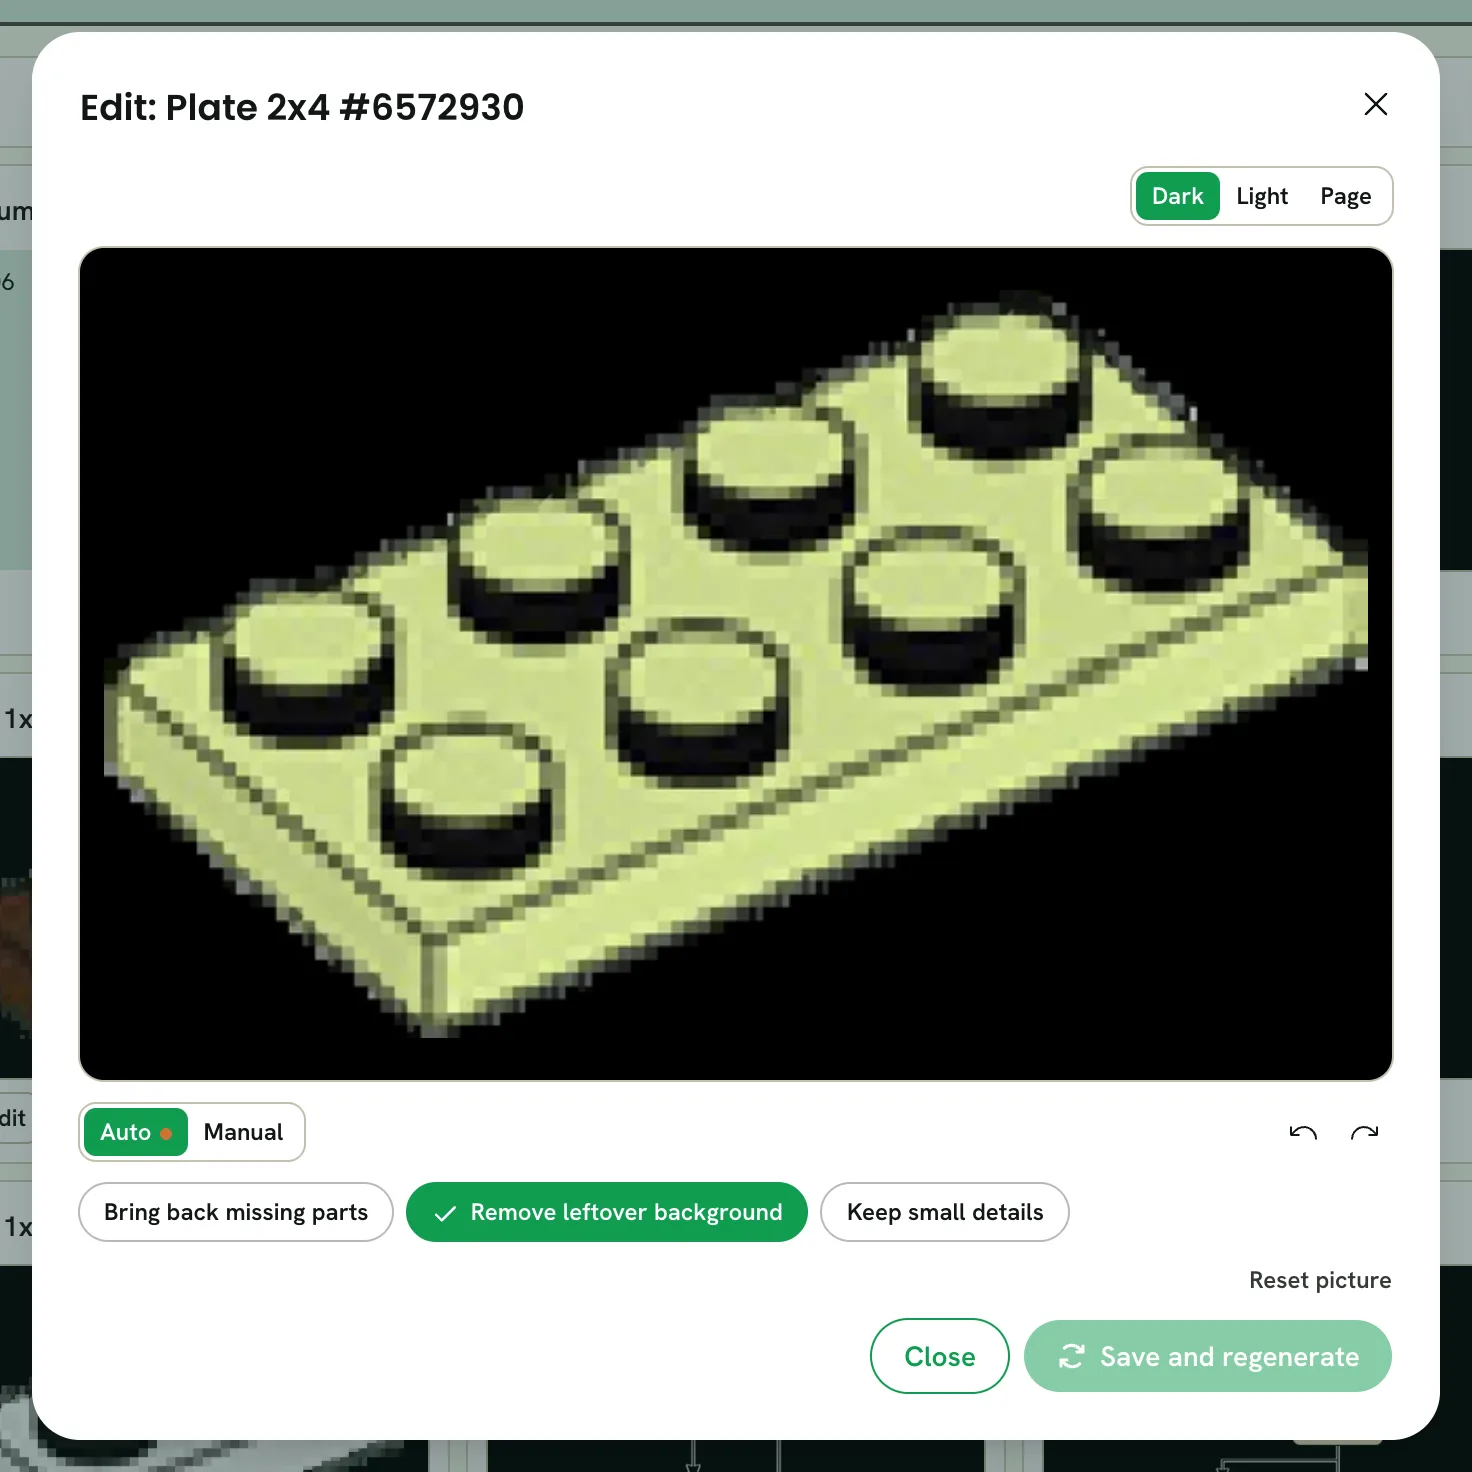
- 1Auto fixes
- 2Manual touch-ups
- 3Save and regenerate
- 4Close or discard
When it looks right, click Save and regenerate: the change is saved and that one picture is built again. Discard puts it back as it was, and closing with changes asks first.
While a job runs on the manual, Edit waits until it's done.
Upload your own pictures
Upload adds pictures of your own, such as a photo of the finished result, to place on cards next to the built ones.
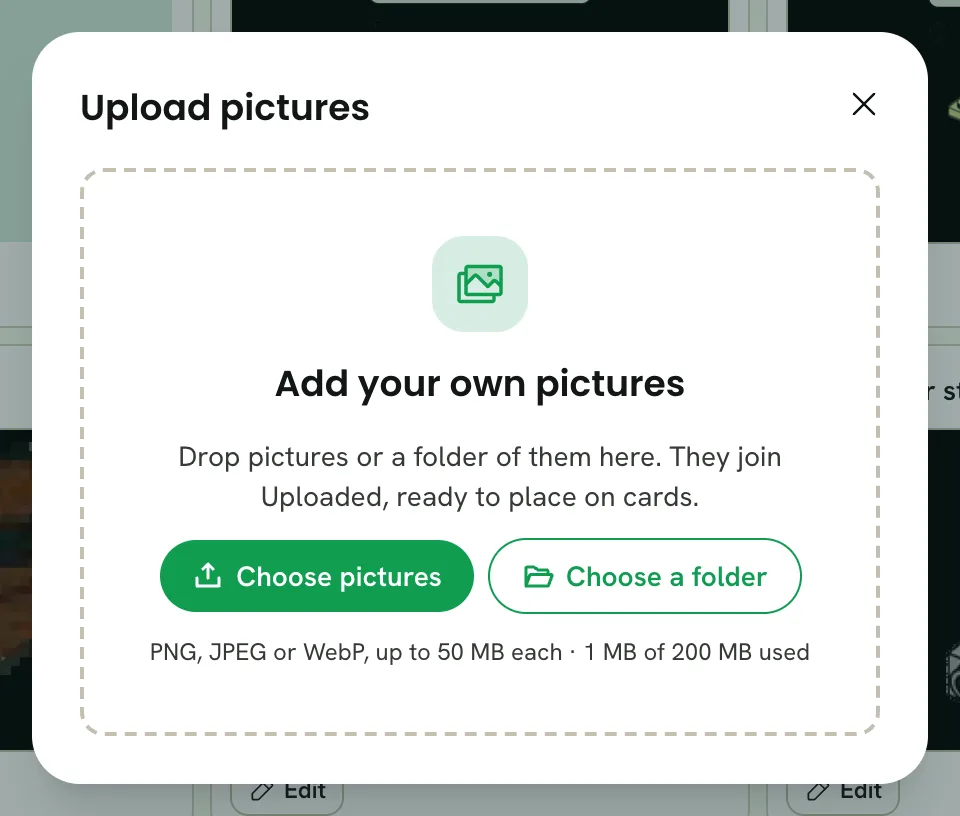
- 1Choose pictures
- 2Choose a folder
Drop pictures or a whole folder on the dialog, or choose them. The dialog says which kinds of file it takes and how much room is left. Uploaded pictures appear at the top of the library, and under Uploaded in the card builder.
When the pictures look right, Continue to card builder opens the card builder.